

No products in the cart.
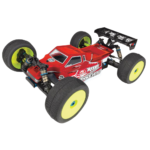
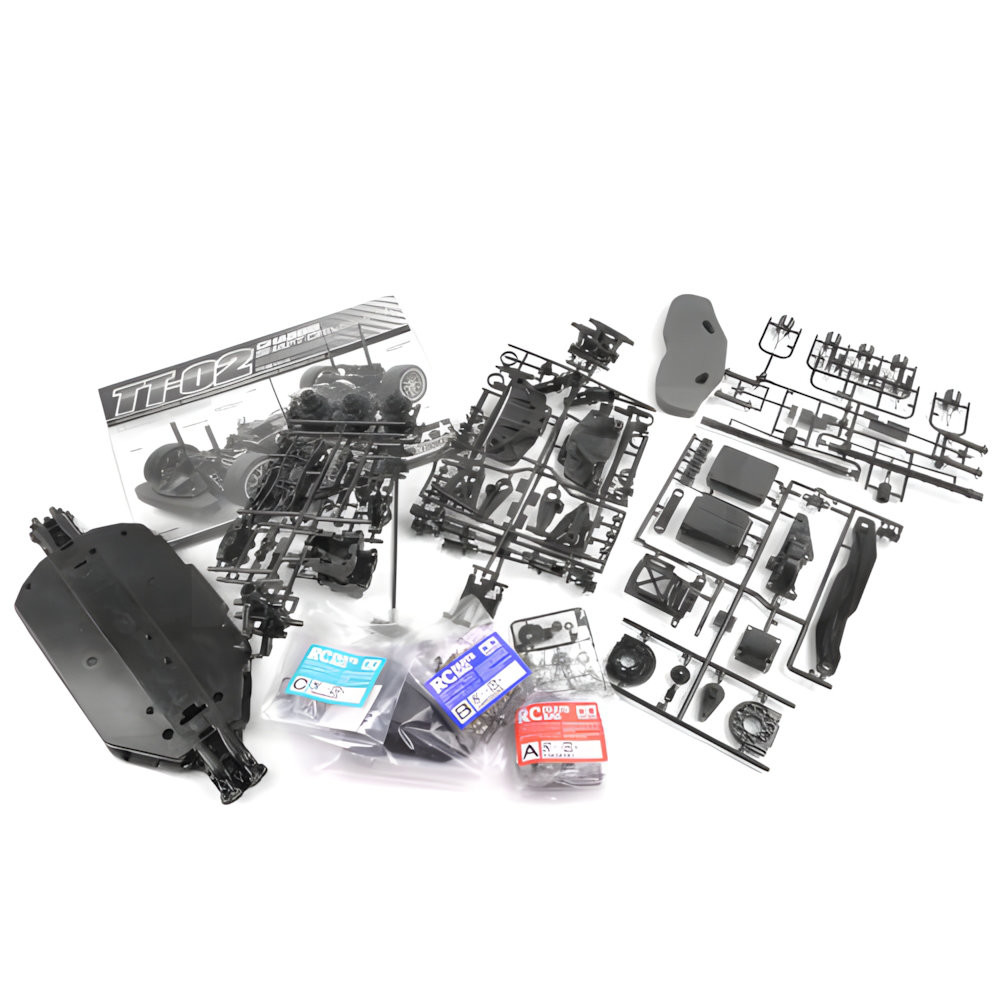
Tamiya R/C model kits are one of the best ways to get started in the world of radio-controlled cars. Unlike ready-to-run (RTR) models, kit versions allow you to build the car yourself, understand how it works, and fully enjoy the hobby.
In this guide, we’ll walk you through the basics of assembling a Tamiya kit, the tools you’ll need, and the key upgrades and components to consider for the best driving experience.
How Does a Tamiya Kit Go Together?
Tamiya kits include detailed step-by-step instructions designed to make the build process smooth and enjoyable—even for beginners.
The assembly process typically follows these stages:
- Chassis Assembly
Start by building the main chassis, including drivetrain and differentials. - Suspension & Steering
Install suspension arms, dampers, and steering components. - Motor & Electronics
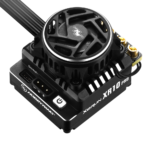
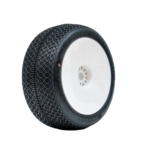
Install the motor, ESC (speed controller), and servo (→ [link here: ESC & motors]) - Wheels & Final Details
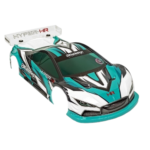
Attach wheels, tires, and finishing components (→ [link here: wheels & tires]) - Body Preparation & Installation
Paint and prepare the body, or install a pre-painted version
NB! Most mechanical parts are included in the kit, but electronics may not always be included—always check the product description.
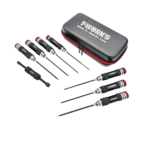
What Tools Do You Need?
Tamiya kits don’t require complex tools, but having the right ones will make the process easier and ensure a cleaner result.
Basic Tools
- Phillips screwdrivers (preferably JIS standard) (→ [link here: screwdrivers])
- Needle-nose pliers
- Side cutters / nippers (→ [link here: tools])
- Hobby knife
- Tweezers
Recommended Extras
- Hex drivers
- Lexan scissors
- Body reamer
- Grease and lubricants
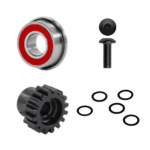
Do You Need Ball Bearings?
Most Tamiya kits come with plastic bushings, which work but are not the most efficient solution.
Benefits of Ball Bearings
- Reduced friction
- Higher speed and efficiency
- Longer runtime
- Smoother operation
NB! We highly recommend upgrading to a ball bearing set during the build (→ [link here: ball bearings])
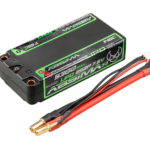
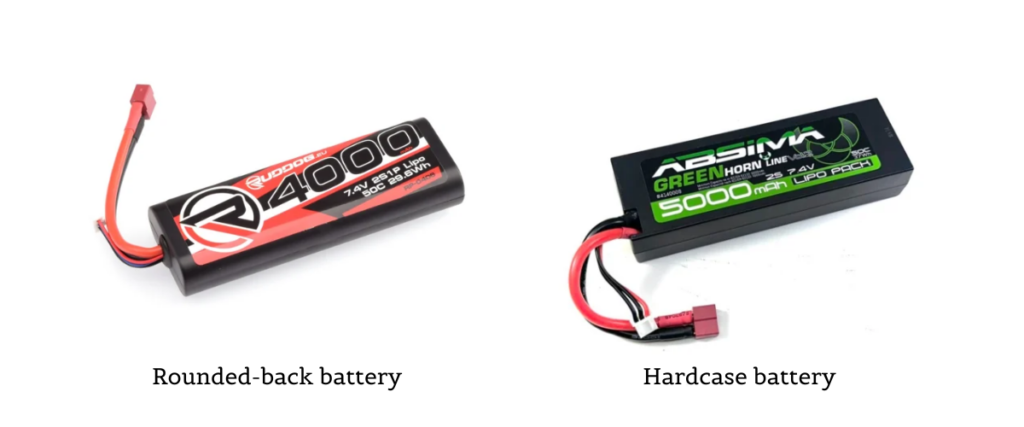
How to Choose the Right Battery
Battery choice depends on the specific model—always check the product details before purchasing.
Common Options
- NiMH (e.g. 7.2V)
- Easy to use
- Durable and beginner-friendly
- LiPo (e.g. 7.4V / 2S)
- More power and longer runtime
- Requires compatible ESC and proper care
What to Consider
- Voltage (must match your model)
- Capacity (mAh = runtime)
- Physical size (must fit battery compartment)
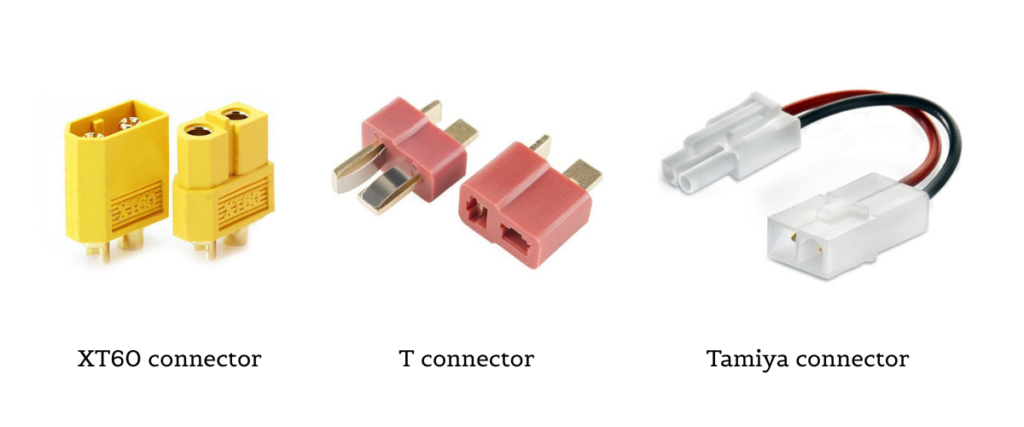
- Connector type
Beginners are often advised to start with NiMH and upgrade to LiPo later.
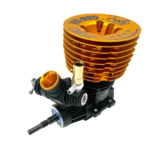
Are Motor and ESC Included?
This depends on the specific kit:
- Most Tamiya kits include
- A brushed motor (e.g. Torque-Tuned)
- An ESC (speed controller)
- Some kits do NOT include
- Motor
- ESC
NB! Always check the product listing carefully before purchasing.
Body – Paint It Yourself or Go Pre-Painted?
Unpainted Body (Standard)
Most kits include a clear polycarbonate body that requires:
- Cutting
- Painting
- Applying decals
This option gives you full creative freedom.
Pre-Painted Body (Limited Versions)
- No painting required
- Faster assembly
- Ideal for beginners
What Else Do You Need to Drive?
Tamiya kits usually require additional electronics:
- 2-channel radio system
- Servo
- Battery and charger
- AA batteries for transmitter
Final Thoughts
A Tamiya R/C kit is more than just a product—it’s an experience.
Building your own car gives you a deeper understanding of how it works and makes future upgrades and maintenance much easier.
With the right tools, a suitable battery, and a few smart upgrades like ball bearings, you’ll get the most out of your R/C car.
Recommended Upgrades & Accessories
- Ball bearing sets
- RC tools
- Batteries & chargers
- Radio systems & servos
- ESCs & motors
- Polycarbonate paints
Explore All Tamiya Kits
Looking for your next build?
You can explore our full range of Tamiya R/C model kits here: Tamiya Kits
Whether you’re just getting started or looking to expand your collection, you’ll find a wide selection of models, from beginner-friendly kits to advanced builds.
Mini RC Cars and Micro RC Cars – Small RC Cars with Big Fun
04.03.2026
Remote controlled cars have been a popular hobby for decades, but in recent years a new trend has started gaining attention among RC enthusiasts – mini RC cars and micro RC cars. These incredibly small radio controlled vehicles offer a surprisingly realistic driving experience while requiring far less space than traditional RC models. Unlike larger […]
Read more 
Gift ideas for a RC enthusiast or beginner
12.11.2025
Probably if you already made it this far you are looking for gifts in RC world.We have a great selection of different RC models in stock whether you are looking for a boat, car or plane, we got you covered. From all the selections available our experts have put together TOP 10 list of models […]
Read more 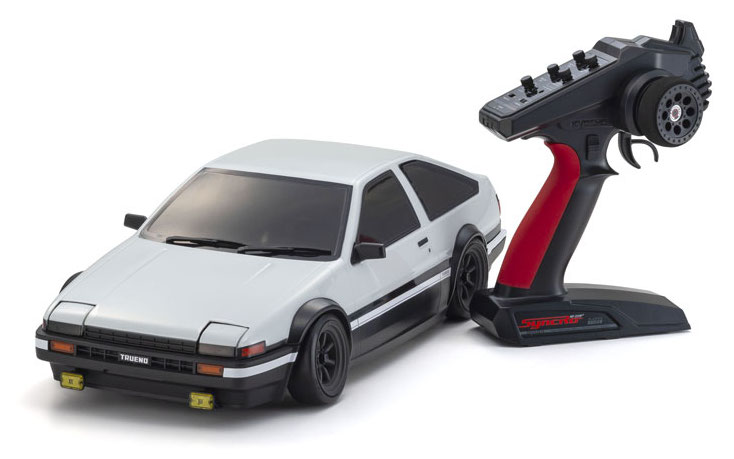
RC Drift car Toyota Sprinter Trueno AE86
26.09.2025
Finally, the popular Kyosho RC Drift Car Toyota Sprinter Trueno AE86 has arrived on our online store shelves. The stylish drift car with a white design is assembled in a box, so to speak, RTR ready. The model is already equipped with a Kyosho gyro, which helps to maintain balance in long and gentle turns. […]
Read more